
|
I promised I'd share with you some (surely not all) of the basic things I keep on hand at all times! This is just my list for people with no known dietary restrictions!! If you are allergic to any on the list or follow different dietary guidelines...please feel free to remove or substitute any items you need to.
As always....if you have any questions, please e-mail me! Every good (or aspiring) cook should have these on hand: All Purpose Flour Seasoned or plain Bread Crumbs Granulated Sugar Sugar Substitute (optional) Brown Sugar Butter & a few sticks of unsalted butter - some recipes call for it Eggs Milk Coarse Sea Salt & Black Peppercorns (with a good set of S&P Grinders) Garlic Powder (NOT garlic Salt) There's enough sodium in most foods! Chili Powder Pork Rub (any kind you like) Dried Bay Leaves Rosemary - fresh is best or dried Thyme - fresh is best or dried Sage - Powdered Parsley - Fresh is best or dried Red Pepper Flakes Ground Cinnamon Ground Cloves Ground Nutmeg Ground Ginger Cream of tarter Honey Peanut Butter & Jam or Jelly (for when all else fails).....LOL! - Or just because you like it! Whole grain Crackers or bread of your choice (Optional-but come in handy) Canola Oil or Extra Virgin Olive Oil (EVOO) Red, White & Balsamic Vinegar Chicken & Beef Stock (or Base) Liquid or Powdered - you'll thank me later;) Worcestershire Sauce Teriyaki Sauce Soy Sauce Ketchup Mustard(s) - I'm in love with Stone Ground! Mayo Veggies - any kind you like & lot's of them!! Fresh is best or frozen 1 Red Onion (sweeter) and at least a few yellow onions Lettuce - any kind you like Celery Mushrooms (Optional - but great on steaks, burgers, pizzas, in stews, etc.) Fruits - any kind you like - plus lemons, limes & oranges for zesting, garnishing & squeezing on stuff! ( I use oranges when I make BBQ Ribs-and many other things). Pickles, Olives, Capers, Hard Cheeses (to snack on or shred), pasta & baby pasta four soups, brown or whole grain rice or risotto - all optional but come in handy for sides, snacks, toppings, etc. Foil, wax paper, parchment paper Quart Sized Freezer Storage Bags Gallon Sized Freezer Storage Bags Good Cooking Utensils - Sharp Knives! Food processor, hand mixer, kitchen scissors (to cut through meats & chicken bones), scale - if you're into portion control, MALLET - very important - to pound out or tenderize your meats & chicken, cooking thermometer, timer, whisk, spatula for flipping, spatula for bowl scraping, soup & gravy ladles, tongs, spaghetti ladel/scoop with teeth, veggie peeler, measuring cups & spoons, microplane (zester), chopper..or chop by hand, cheese & veggie grater, colander/strainer (or sculabast in Italian), serving utensils - like large spoons, serving forks, salad utensils, silverware...ha ha. Good set of pots & pans. It's so important NOT to cook on anything with peeling Teflon, cracked or rusty equipment...if you have any of those...THROW THEM OUT! I will be doing either a video or just another segment like this on kitchen utensils - so no worries! These are just some of the basics that will allow you to create most any meal you like - and be able to follow most recipes you see! Now onto Meats for your weekly lunches, dinners, etc. I like to buy in Bulk when I can. I buy at wholesale clubs like Costco, GFS, etc. - to reduce my PER SERVING COST. These are usually in my freezer or fridge on a weekly basis: Chicken Breasts Pork Chops, Pork Roast, Pork Tenderloin or any other cut of pork you like & on sale Tilapia, Salmon, Cod, White Fish, Shrimp or any other seafood you enjoy. Salmon is one of our favorites - packing all those good Fatty Omega's! Ground Beef Bacon Canned Tuna Fish or Canned Chicken Breast (for quick salads or sandwiches) I'm not saying you need to rush out and get all of things at once - unless you can....But I guarantee you are or will be using the majority of these things. HAPPY COOKING & STAY TUNED FOR MORE ADVENTURES IN THE KITCHEN! "Find something you're passionate about and keep tremendously interested in it." Julia Child
0 Comments
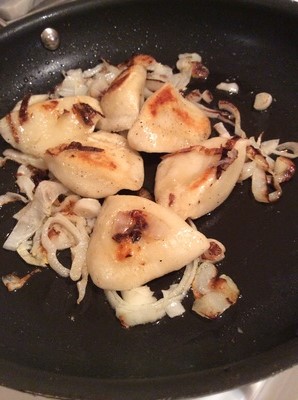
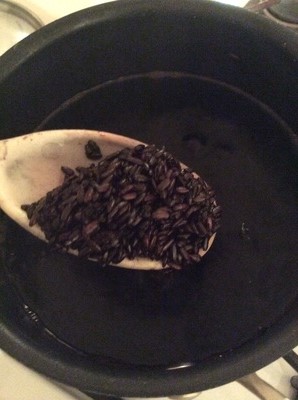
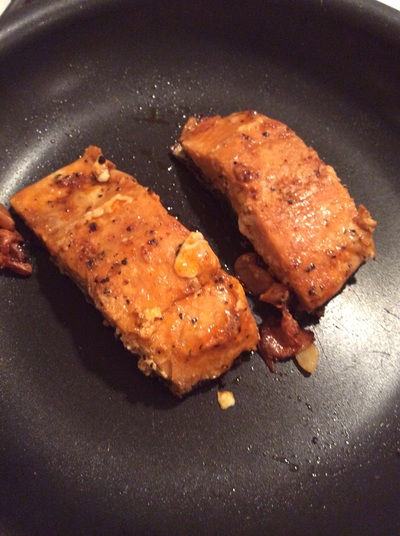
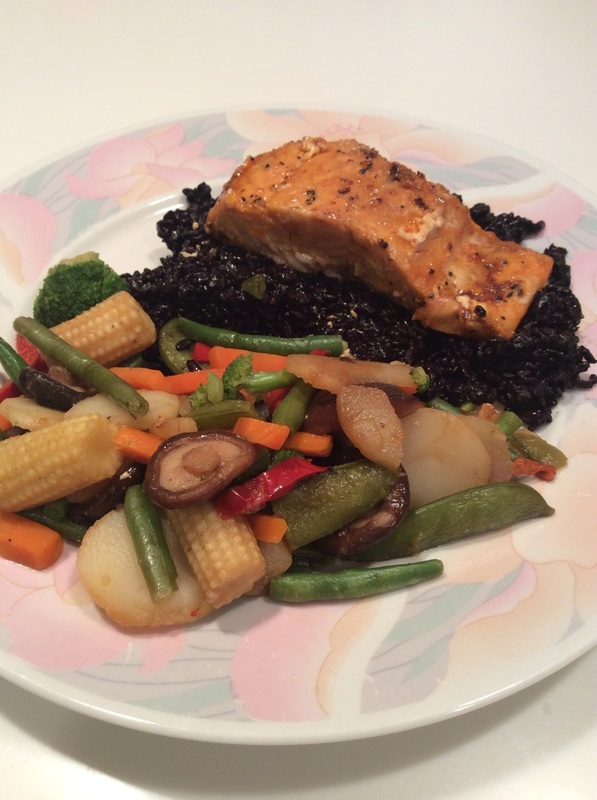
 Make this Easy Dinner in literally 15 minutes! If you like shortcuts - this easy meal is for you. If you wan't to learn how to make homemade pierogi, read on to the end. I'll tell you how! Let's get started on the EASY Version. INGREDIENTS 1 Package Lite Eckrich Skinless (fully cooked) Polish Sausage 2 Cups Frozen Veggies (or fresh - whatever you like) 1 Package thawed Pierogi (to make homemade-see below) 1 Medium Onion 1/4 Cup Canola Oil 1/2 Cup water Lite Sour Cream Stone Ground Mustard or yellow mustard for sausage Sea Salt & fresh ground black pepper - to taste Butter - or I can't believe it's not butter for veggies DIRECTIONS 1. Slice Onion into rings then cut in half. 2. Place oil in large fry pan - medium heat. 3. Add onion & sauté until just beginning to brown. 4. Add pierogi & season with a bit of salt & pepper. Flip after 3-4 minutes...should be slightly browned. Cook for the remaining 4 minutes while your veggies & sausage are working. 5. In a small saucepan add 1/2 Cup water - bring to boil. 6. Add veggies & cook on med-low. 7. In a medium fry pan add 1/4 cup water with sausage...simmer on medium until heated through. 8. Turn off all burners, plate your food & Enjoy! Here's how to make your own homemade pierogi: Dough 1 Cup Flour 1 Egg 1 Tsp. Baking Powder 3/8 of an 8oz container of Sour Cream 1/8 Tsp. Salt Filling 1 Tbs. Butter 3 Tbs. Chopped Onion 2/3 Cup Cold Mashed Potatoes 1/4 Tsp. Salt 1/4 Tsp. White Pepper Directions: 1. Melt butter in your fry pan over medium heat. Stir in the onion and cook until translucent, about 5 minutes. Stir into the mashed potatoes, and season with salt and white pepper. 2. To make the dough, beat together the eggs and sour cream until smooth. Sift together the flour, salt, and baking powder; stir into the sour cream mixture until dough comes together. Knead the dough on a lightly floured surface until firm and smooth. Roll out dough to 1/8 inch thickness. Cut into 3 inch rounds using a biscuit cutter or small juice glass. 3. Place a small spoonful of the mashed potato filling into the center of each round. Moisten the edges with water, fold over, and press together with a fork to seal. 4. Bring a large pot of lightly salted water to a boil. Add perogies and cook for 3 to 5 minutes or until pierogi float to the top. Remove with a slotted spoon. YOU CAN FREEZE FOR LATER! 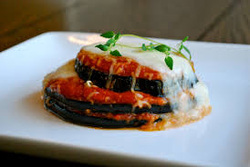 Make your pot of marinara a few days in advance or you can use a GOOD store bought brand - if you must! If you don't have a recipe for marinara you love, send me an e-mail....I just might share mine...Maybe! Ingredients 1 – 2 Large Eggplants 4 Eggs 1 Tbs. Parsley 1/4 tsp. each Sea Salt & Fresh black pepper (once for eggs, once for breadcrumbs, once for ricotta mixture). 1/4 teaspoon Garlic Powder - (once for eggs, once for breadcrumbs). 1-2 Cups Italian Bread crumbs Chiffonade (rolling leaves together & cutting into strips) of 3 large basil leaves or 1 Tbs. dried basil 2-3 Cups Marinara Sauce ½ Cup grated parmesan cheese 2 Cups shredded Mozzarella 2 Cups Ricotta Cheese....mixed with fresh parsley, salt, pepper & garlic powder to taste Oil for frying (1 Cup to start). Directions 1. In a Medium mixing bowl, combine eggs, parsley, salt & pepper, garlic powder. Mix well. In another bowl, combine, breadcrumbs, parmesan cheese, salt & pepper. Third small bowl, combine ricotta, salt, pepper, garlic powder. Peel & Slice the eggplant in approx 1/8” rounds. Preheat a frying pan & add oil. Dip in egg mixture then in breadcrumb mixture…place in Fry pan, keep doing this until your fry pan is filled. 2. Turn each piece after about 2 minutes on Medium Heat….and PRESS down on the eggplant with spatula….to let some moisture out. 3. Take out & place on Serving platter to cool….continue with this process until all eggplant is cooked. 4. Layer Eggplant in Baking Dish…Eggplant, Ricotta Mixture, then marinara….then another layer, Eggplant, Ricotta mixture, marinara! 5. Add Mozzarella to top. 6. Cover with foil & Bake for approx. 20 minutes. 7. Remove foil.....and let bake just until cheese melts & lightly browns & is heated through! 8. Cut & Serve...Adding a bit of marinara & garnishing with basil for a pretty presentation! 9. Serve with side salad or pasta! You may also cook this & freeze for later! 10. Enjoy! 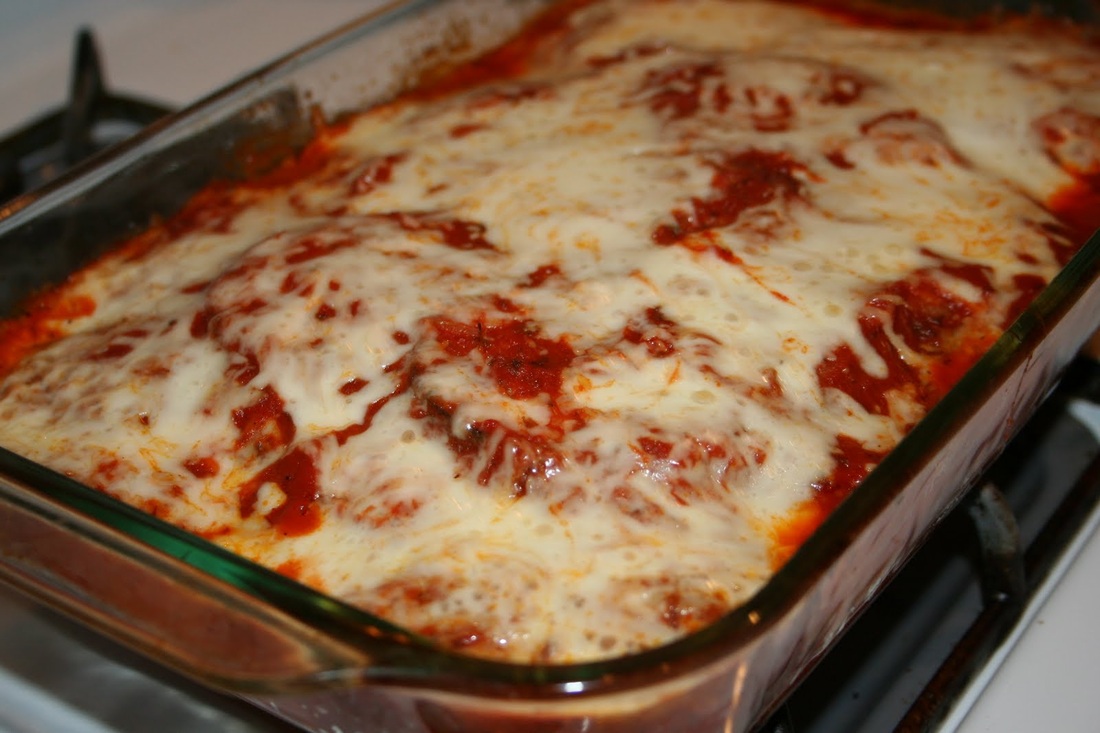 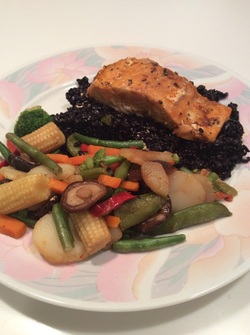 Even though I live in a very Italian household, we enjoy almost all ethnic dishes. This one is easy and only requires a few basic Asian ingredients....like soy sauce (low sodium is the better choice), teriyaki sauce, orange glaze & bottled ginger. You can find these in your local supermarket in the Asian aisle. They come in handy for other things....like marinating chicken or for making other quick stir fry dinners. You can certainly make this dish with white or brown rice - but black rice is PACKED with great anti-oxidants plus vitamin E and Fiber! Plus, it looks pretty. So here we go: Take out 2 sauce pans, & 1 medium fry pan. INGREDIENTS 2 Pieces of Salmon - Skin on - at room temp for 10 minutes 3 Cups Stir Fry Veggie Blend 1 Cup Black Rice 1/2 Cup water for veggies 2 Cups Low Sodium (or regular) Chicken Stock - or water for rice 2 Tbs. Low Sodium (or regular) Soy Sauce - plus a bit extra for dressing your dish 2 Tbs. Orange Glaze 2 Tbs. Teriyaki 2 Heaping Tbs. Ginger with 1 tbs. of it's liquid Crushed Black Pepper Sea Salt, regular salt, lemon or lime wedges (Optional) Non-Stick Cooking Spray or 1/2 Tbs. Canola Oil or Wok Oil DIRECTIONS 1. Rinse your rice in cold water for a minute or so...then add to a small sauce pan with 2 cups chicken stock (or water plus approx. 1/2 tsp. salt). Bring to a boil, then reduce heat to a simmer or med/low. Cover, set timer & cook rice for approximately 30 minutes...or until tender. Add the liquid from the ginger now. 2. While your rice is cooking, dress & marinate your salmon (in the container it came in - usually a Styrofoam tray) with the orange glaze, teriyaki & ginger. Let sit in the juices for about 3 minutes, flip over & do the same for the other side. This little bath will let it soak up some of the flavors prior to cooking. Remember to check on your rice & stir every 5-6 minutes or so to prevent sticking! 3. Spray your fry pan with non-stick spray or use 1/2 tbs. oil. Turn pan on medium......place salmon in pan, skin side up and cook for about 4 minutes. The ginger cooks on top & around the salmon for a really nice flavor. (Start water for your veggies - below). Using tongs or a spatula, flip over & cook for another 4 minutes or until it feels firm, skin is crispy and salmon has turned a lighter pink....once cooked - leave on low to keep warm. 4. Add 1/2 cup water to your 2nd sauce pan, bring to boil & add your veggies. Reduce heat to medium & cook for approximately 3-4 minutes or until tender. This small amount of water will let the veggies steam to doneness. (You may choose to stir fry your veggies, steam in the microwave or use a different cooking method). I chose to show you a simple way to get the job done. 5. Your rice should be done now....if not - make sure everything else is on low to keep warm. Stir veggies to make sure they're nice & hot...same for rice! 6. Plate your dish by spreading out a nice helping of black rice to each plate....top with a piece of salmon (skin removed or left on-it's up to you) & add veggies on the side. 7. Swirl a little soy over the rice, & veggies for taste. If you like, try squeezing lemon or lime over your salmon for extra flavor. 8. Enjoy and remember.....once you taste your dish - if it needs more of something, add it! Play around with this recipe next time. My hubby makes a secret sauce for salmon - when I'm not cooking it Asian Style. If you stay tuned...I might just let out our little secret.............Oh heck I'll tell you now! 2 tbs. mayo, 2 tbs. Green Goddess Dressing, 1 dash Worcestershire sauce, 1 tbs. ketchup, 1/2 tsp. capers, 1 tsp lemon juice....stir & top your salmon with this another time! You'll LOVE it. Your kitchen is yours...there is no right or wrong! Have Fun;) |
Archives
January 2024
|


 RSS Feed